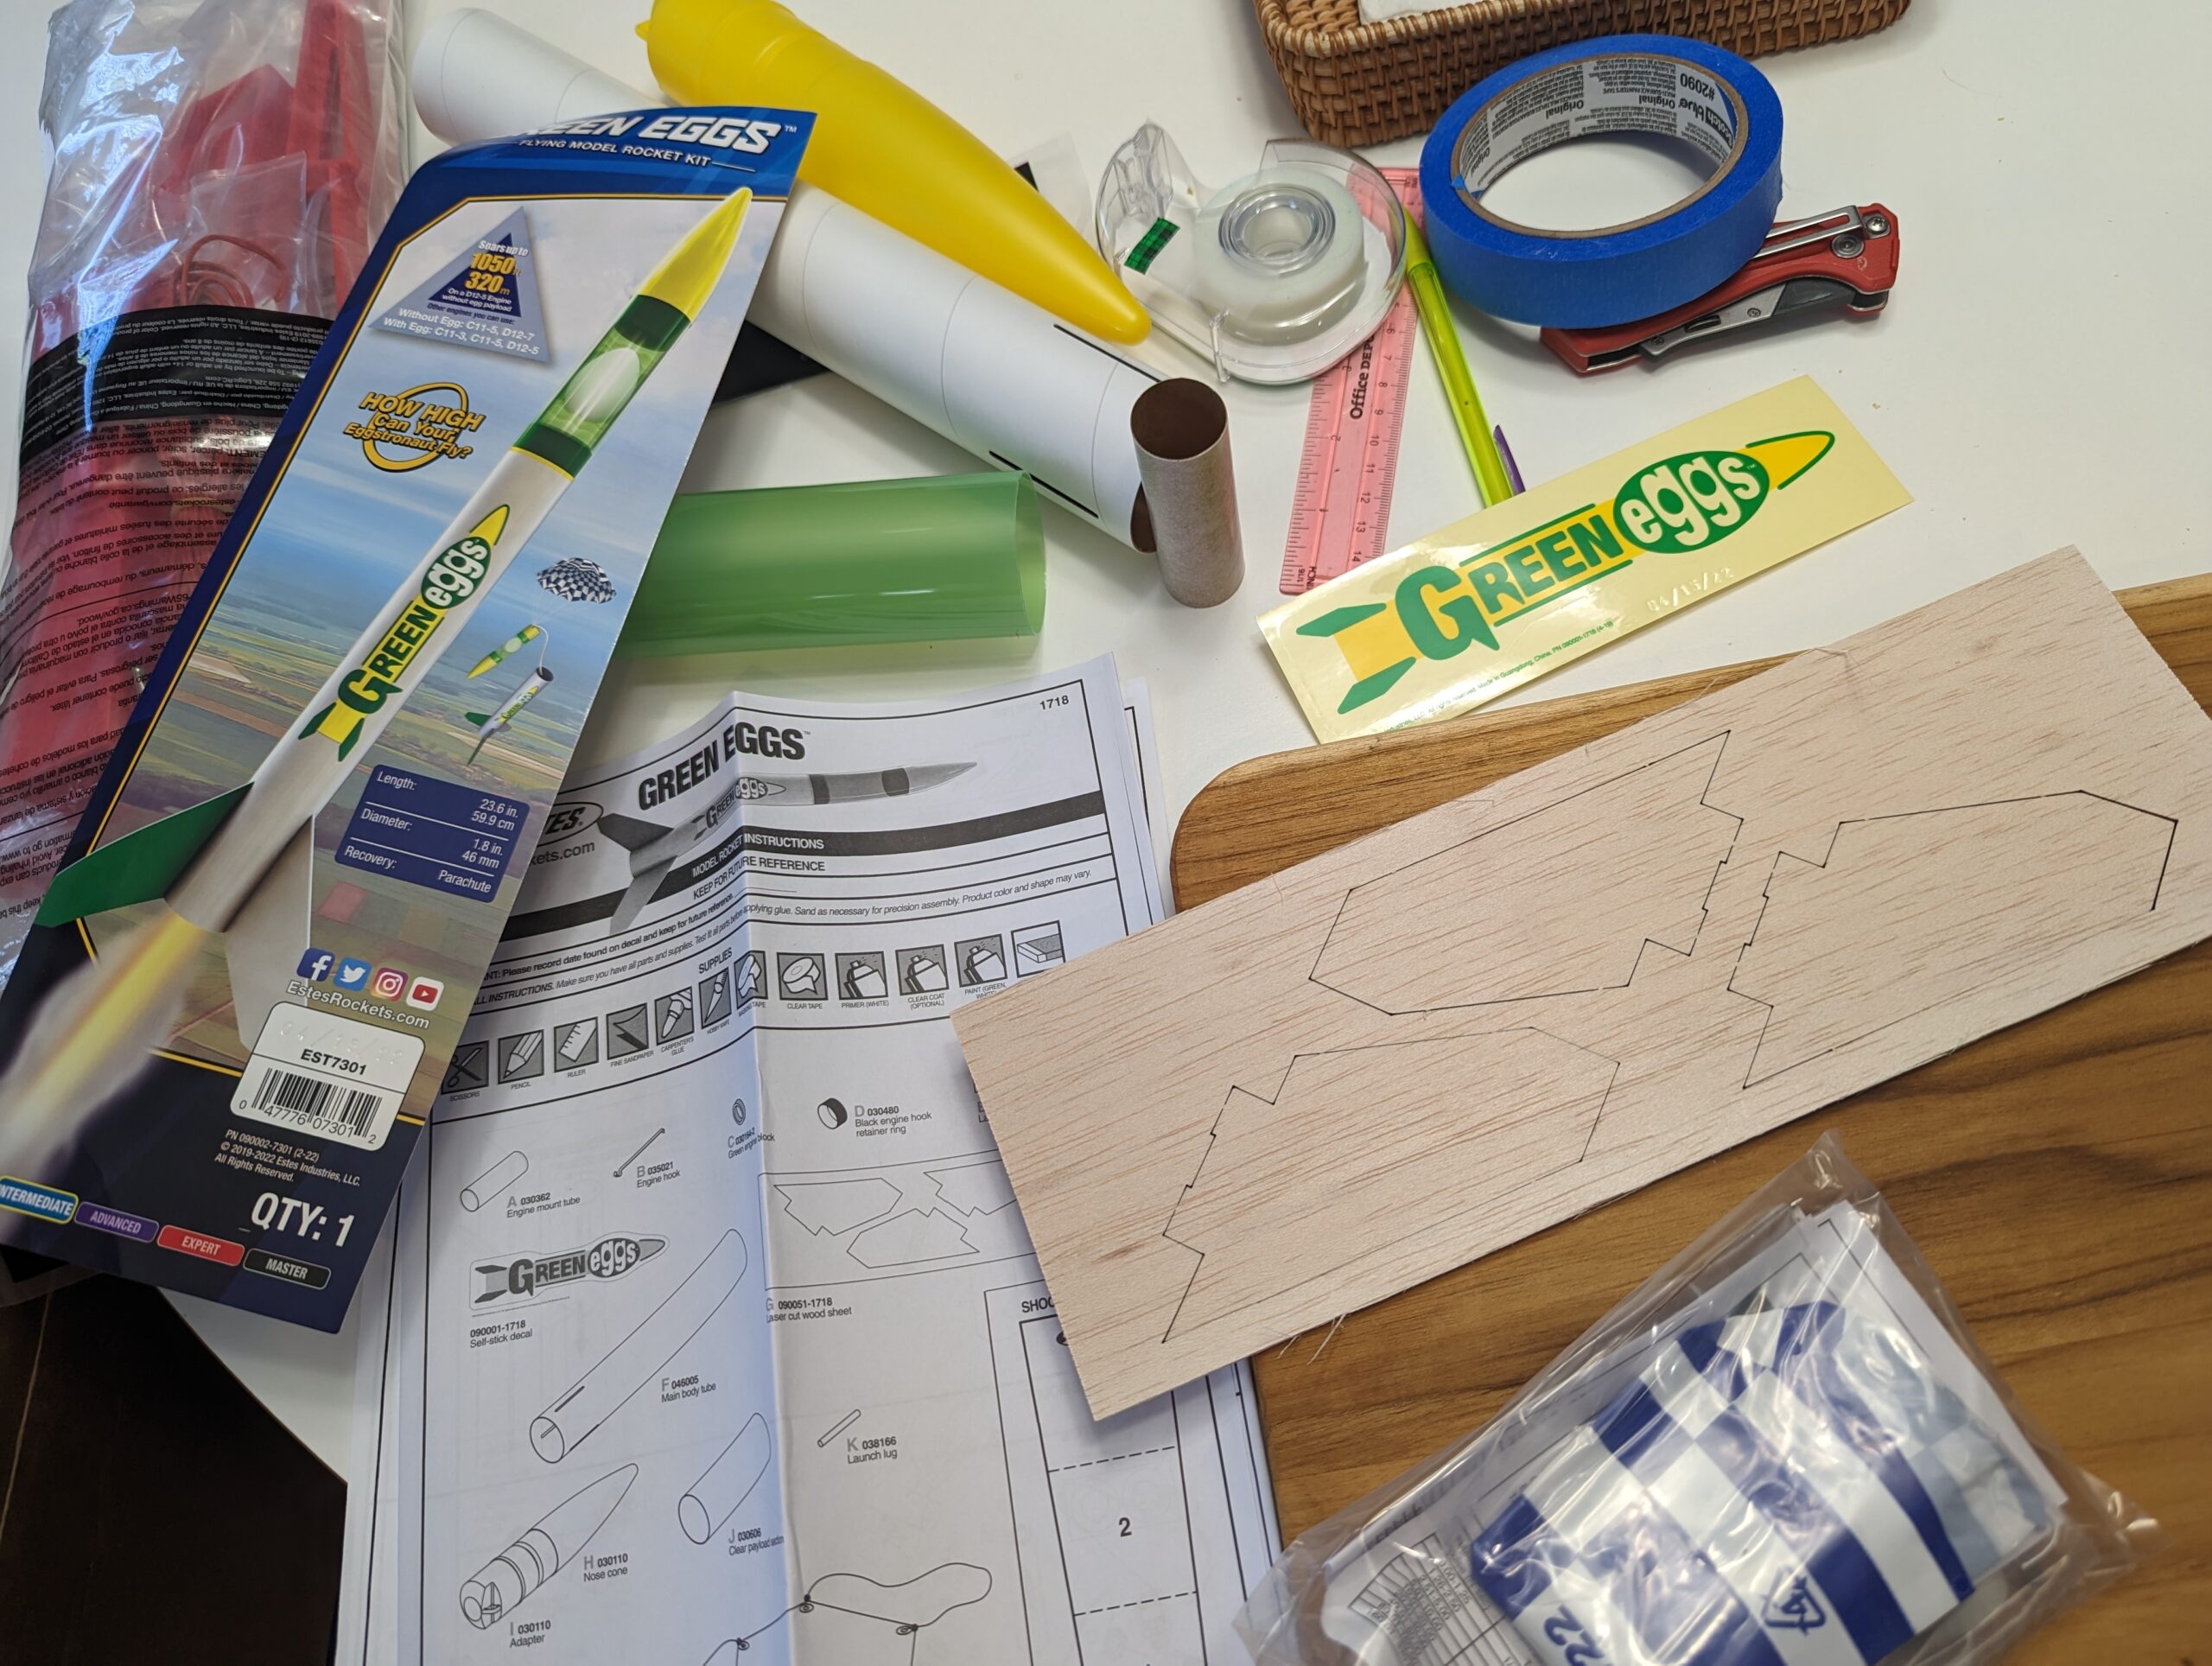
Hi there, everyone! Today, I’m stepping away from our regular outdoor activities and sharing my experience of putting together a model rocket. Yes, I did it! I assembled the Estes Green Egg model rocket. And you know what? You can too. It might sound daunting, but believe me, it’s doable and so much fun.
What You’ll Need
To start with, I needed a model rocket kit. I picked the Estes Green Egg model rocket kit, and it was probably a little more than I needed. You’ll find tons of different kits out there, from really simple ones to some that are quite complex. The Green Egg is considered intermediate. The Alpha is also intermediate, but smaller, and the Generic is even easier. Big Daddy looks like fun. I might try an Alpha and a Big Daddy next. There are just so many kits. Let me know if you have any questions about them!
What they have in common is the kits come with all the essential parts – body tubes, engine mounts, fins, a nose cone, and parachutes. I also had to gather a few extra tools:
- A hobby knife
- Some wood glue
- Sandpaper
- A sanding block
- A disposable wood chopstick
- Paper towels
- A ruler & pencil
Building It
Assembling the Estes Green Egg took a few steps, but I reminded myself to take it slow and enjoy each part of the process.
Engine Mount Assembly: I began by measuring carefully, cutting out the engine mount rings, researching the meaning of “glue fillets”, and carefullly gluing it together, following the instructions in the kit. As I understood it, glue fillets are blobs of glue on both sides of whatever is being glued. Achieving fillets with the wood glue took a steady hand, was aided with the rounded end of the chopstick, made a bit of a mess, and careful wiping. I took an hour break after the engine mount was built to let the glue set.
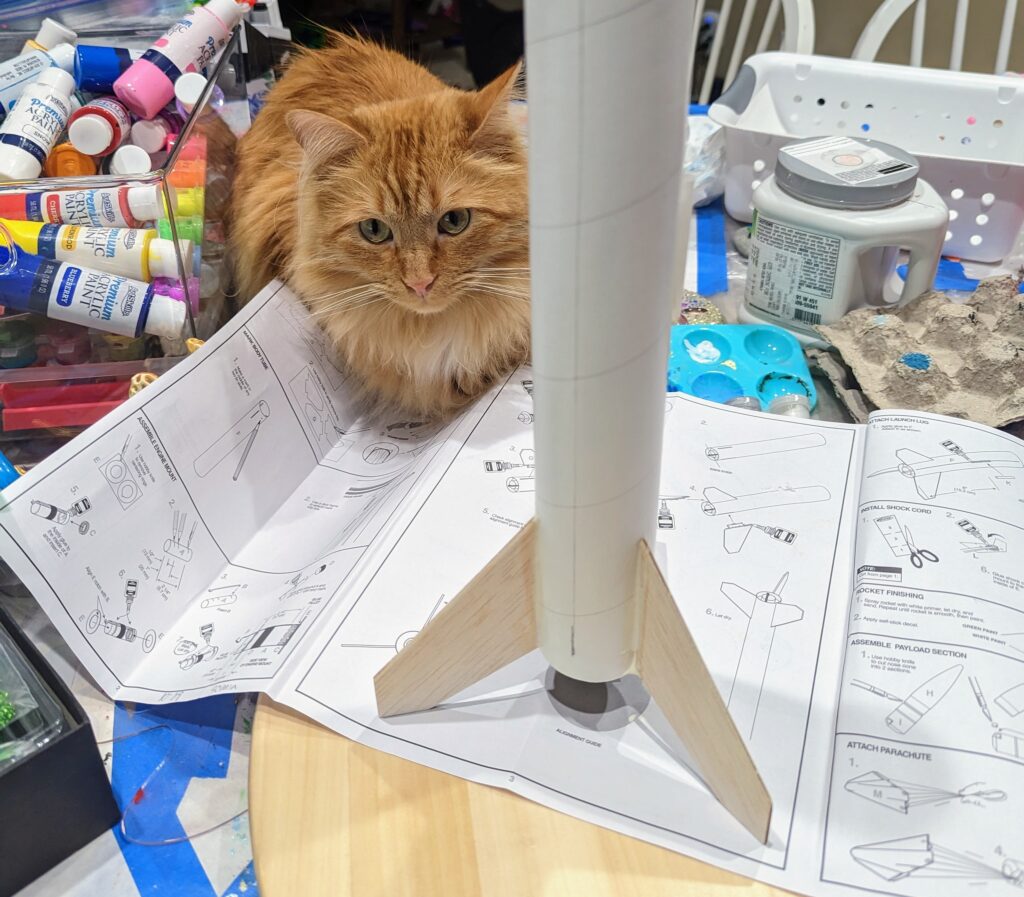
Body Tube and Fins: Next, I measured and glued the engine mount into the body tube and attached the fins with more glue fillets. I was careful to ensure they were placed correctly, using the guide given in the instructions, and with supervision by my project manager cat. The shock cord attachment instructions were easy to follow (again, careful measuring and lots of glue).

Nose Cone and Parachute: Cutting the nosecone eyelit with my utility knife was a bad idea. Definitely better to use a craft knife. Then, I tied the shock cord on and spent a bit of time trying to figure out the best way to fold the parachute.
Final Steps: The last steps were attaching the nose cone and parachute into the body tube. I let the glue set overnight before doing this part. I didn’t want the glue from the shock cord in the body tube to glue the nose cone to the body. Waiting worked perfectly. And just like that, I had built a rocket!
Painting: I haven’t painted my rocket yet. It will be a fun project for another day.
Some Tips
Here are a few handy tips I picked up along the way:
- Keep a damp cloth nearby for cleaning up any extra glue before it dries.
- Patience is crucial. I didn’t rush the drying process. It was important for the rocket’s overall strength.
- When painting, I found it best to apply light coats and let them dry fully between applications.
Safety First
Just like any other DIY project, safety was paramount:
- I was extremely careful when using the knife.
- I made sure to use glues in a well-ventilated area.
- Before trying to launch the rocket, I gave it a full 24 hours to dry.
Wrapping Up
So there you have it – a step-by-step recount of my journey building an Estes model rocket. It required patience and attention to detail, but it was incredibly rewarding.
And guess what’s next? We’re taking this rocket outside for a flight! Keep an eye out for my next post, where I’ll share my experience preparing and launching the rocket I built. Remember, you can do this too! So, until then, take care and enjoy the build.
As an Amazon Associate, I earn from qualifying purchases, which helps me continue creating exciting content for you and your family.

