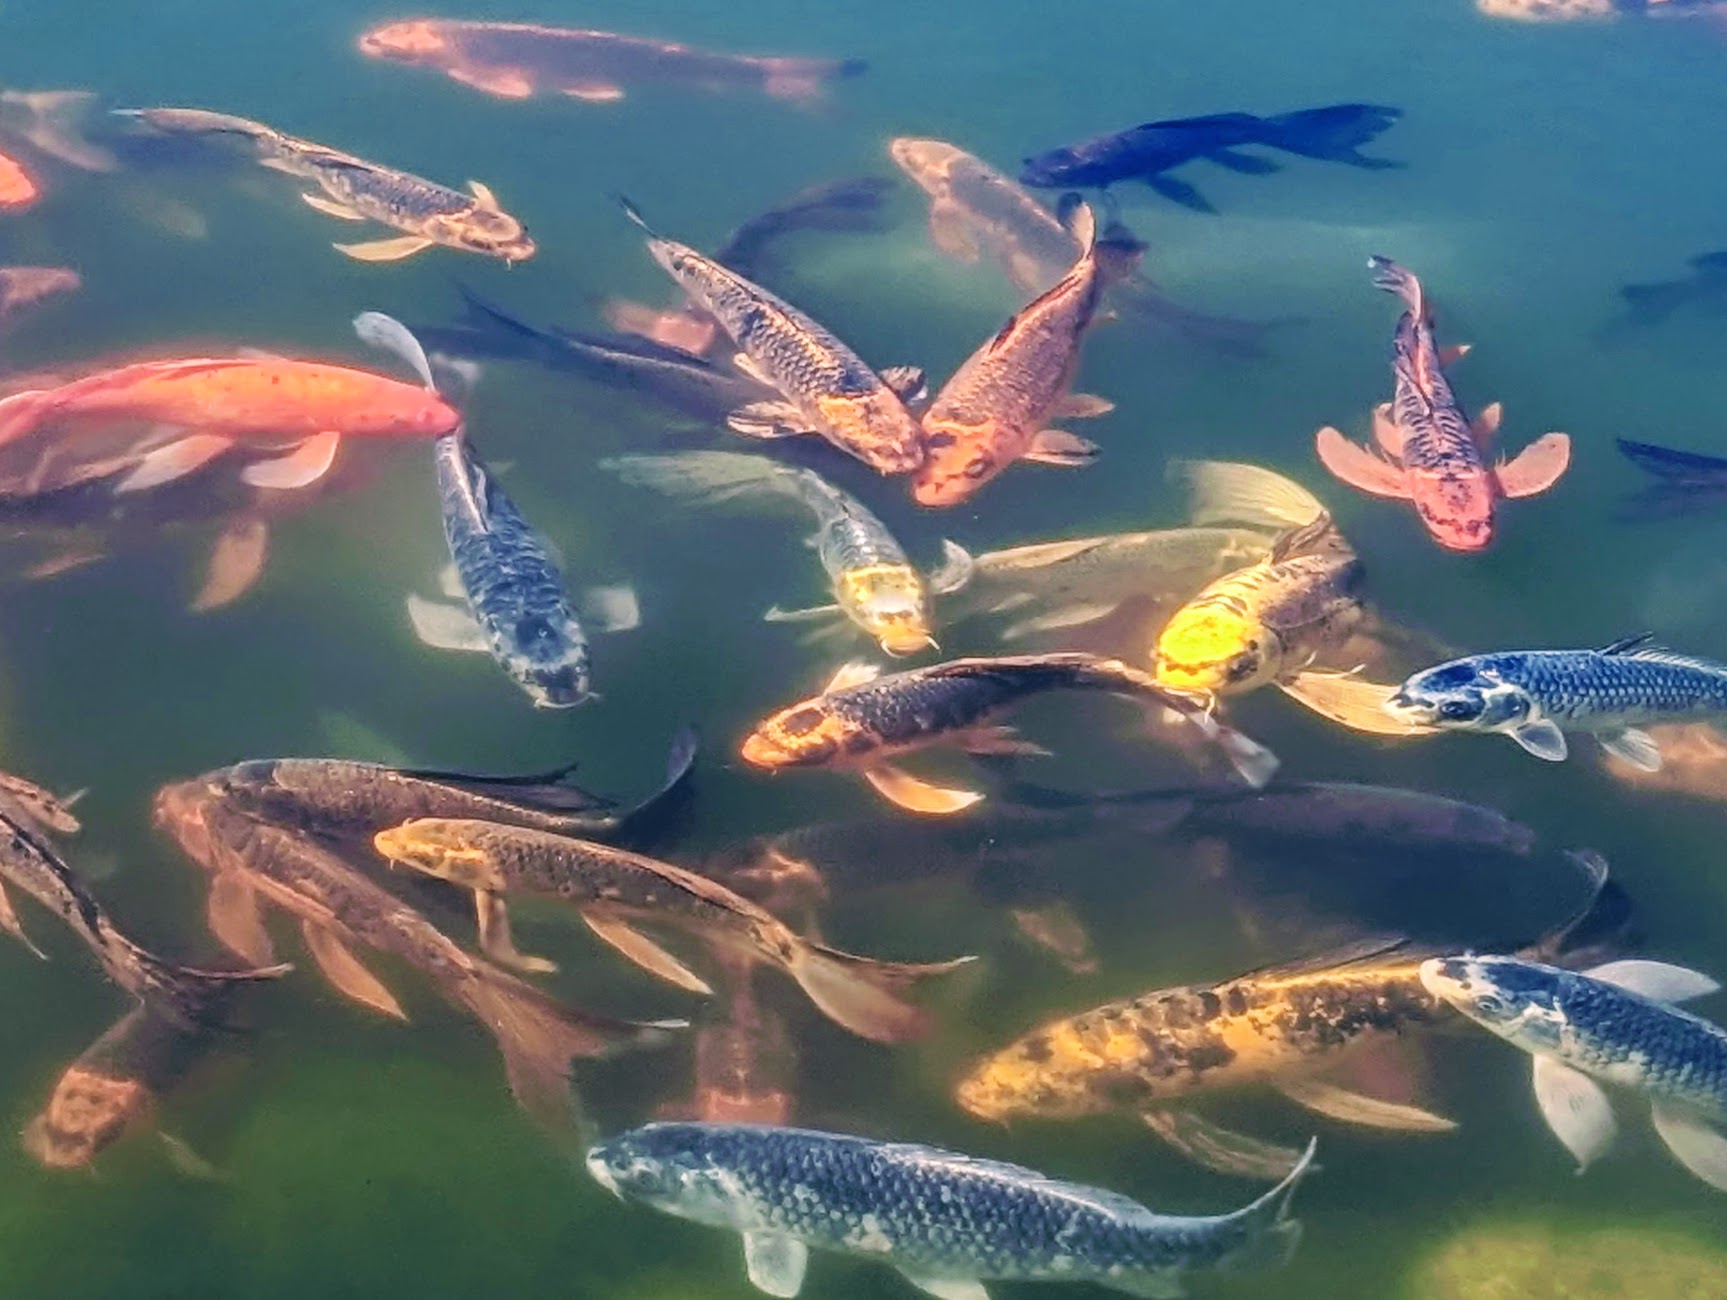
Hey there, fellow nature lovers and educators! As a science teacher, mom, and outdoor enthusiast, I’ve discovered that photography is a delightful blend of art and science. Our smartphones have become incredible tools for capturing the beauty of the great outdoors. In this blog post, I’m excited to share with you some tried-and-true tips and techniques to help elevate your outdoor smartphone photos. If you’re a teacher or homeschooling parent, I’ve also included some ideas to incorporate photography into your classes or lessons. So, grab your phone and let’s embark on this fun, photographic journey together!
Illuminating the Exposure Triangle: Unlocking the Science Behind Aperture, Shutter Speed, and ISO
Understanding the three key elements that determine exposure—aperture, shutter speed, and ISO—will help you truly master the art and science of photography. Collectively known as the “Exposure Triangle,” these elements control the amount of light captured by your camera and directly impact the overall quality of your images. Let’s dive deeper into the science behind each component to help you capture perfectly exposed photographs.
Aperture refers to the adjustable opening in a camera lens that controls the amount of light entering the camera. The size of the aperture is measured in f-stops, with smaller f-stop numbers indicating larger apertures that let in more light.
Shutter speed is the duration of time that the camera sensor is exposed to light. Faster shutter speeds can freeze fast-moving subjects, while slower shutter speeds allow more light to reach the sensor and can create intentional motion blur for creative effects.
ISO is a measure of the camera sensor’s sensitivity to light. Lower ISO values result in cleaner images with less noise, but require more light for proper exposure. Higher ISO values increase the sensor’s sensitivity, allowing for better performance in low-light conditions.
Let There Be Light: Mastering Nature’s Illumination
Natural light is the key ingredient for breathtaking outdoor photography. Harness the sun’s power by shooting during the golden hour, experimenting with backlighting and sidelighting, and embracing overcast conditions for even, diffused lighting.
Picture Perfect: Composing Your Outdoor Masterpieces
Compose captivating images by applying techniques like the Rule of Thirds, using leading lines, exploring framing and symmetry, and embracing minimalism.
Exposure Alchemy: Taming Light’s Tricky Trio
Master the three elements of exposure (aperture, shutter speed, and ISO) to create perfectly exposed images. Manually adjust exposure settings for optimal results in various outdoor conditions, learn to handle high-contrast situations, and experiment with different ISO settings for low-light situations.
Feature Finesse: Maximizing Your Phone’s Built-In Magic
Unleash your phone’s full potential by utilizing built-in camera features and third-party apps, such as HDR, panorama, portrait mode, shooting in RAW format, and exploring advanced controls with third-party camera apps.
Stability Savvy: Keeping Things Sharp and Steady
Ensure tack-sharp images by minimizing camera shake with tripods, mounts, or other stabilizing accessories, practicing handheld stabilization techniques, and experimenting with burst mode or faster shutter speeds for capturing action shots.
Edit Like a Pro: Polishing Your Outdoor Gems
Transform your images from good to great with post-processing. Use popular editing apps to fine-tune your photos, adjust exposure, color balance, sharpness, and experiment with filters and presets to create a unique and consistent style.
Picture-Perfect Learning: Idea for a STEAM Photography Project
Incorporate an outdoor photography project into your teaching or homeschooling curriculum for a fun, interactive, and educational experience. This step-by-step guide will help your students learn the science of photography while having fun outdoors:
- Initial Exploration: Start by sending your students out to take photos as a homework assignment or set period during class time without giving them any specific instructions. Encourage them to be creative and capture whatever catches their eye outdoors.
- Introducing Concepts: After they’ve taken their initial photos, introduce the key concepts of photography, such as exposure, composition, and lighting. Share tips and tricks that will help them improve their skills.
- Applying Knowledge: Now that they’re armed with new knowledge, ask your students to go back outside and take another set of photos, this time incorporating the concepts they’ve learned.
- Showcasing Progress: Have your students create a presentation comparing their initial and improved photos for 1-5 subjects. You can choose from various formats, such as digital slideshows, poster presentations, or even notebook or journal-sized displays using a portable photo printer like a Sprocket.
- Reflecting on Growth: Encourage your students to use the photography terms and concepts they’ve learned to explain their choices of good and bad photos. This will help them develop a deeper understanding of the techniques and solidify their newfound photography knowledge.
By following this approach, you’ll provide a hands-on, engaging STEAM (Science, Technology, Engineering, Art, and Mathematics) experience that will help your students grasp the science behind photography while developing their creativity and critical thinking skills.
The Adventure Begins: Your Smartphone Camera and the Great Outdoors
Understanding the science of photography and applying these techniques can unlock your smartphone’s true outdoor photography potential. Remember, practice makes perfect, so get out there and start capturing nature’s beauty! I’d love to see your progress and hear about your experiences in the comments section or on social media. I’d love to share more of these ideas with you too. So, subscribe to my newsletter, then grab your phone and let the adventure begin! Happy shooting!

