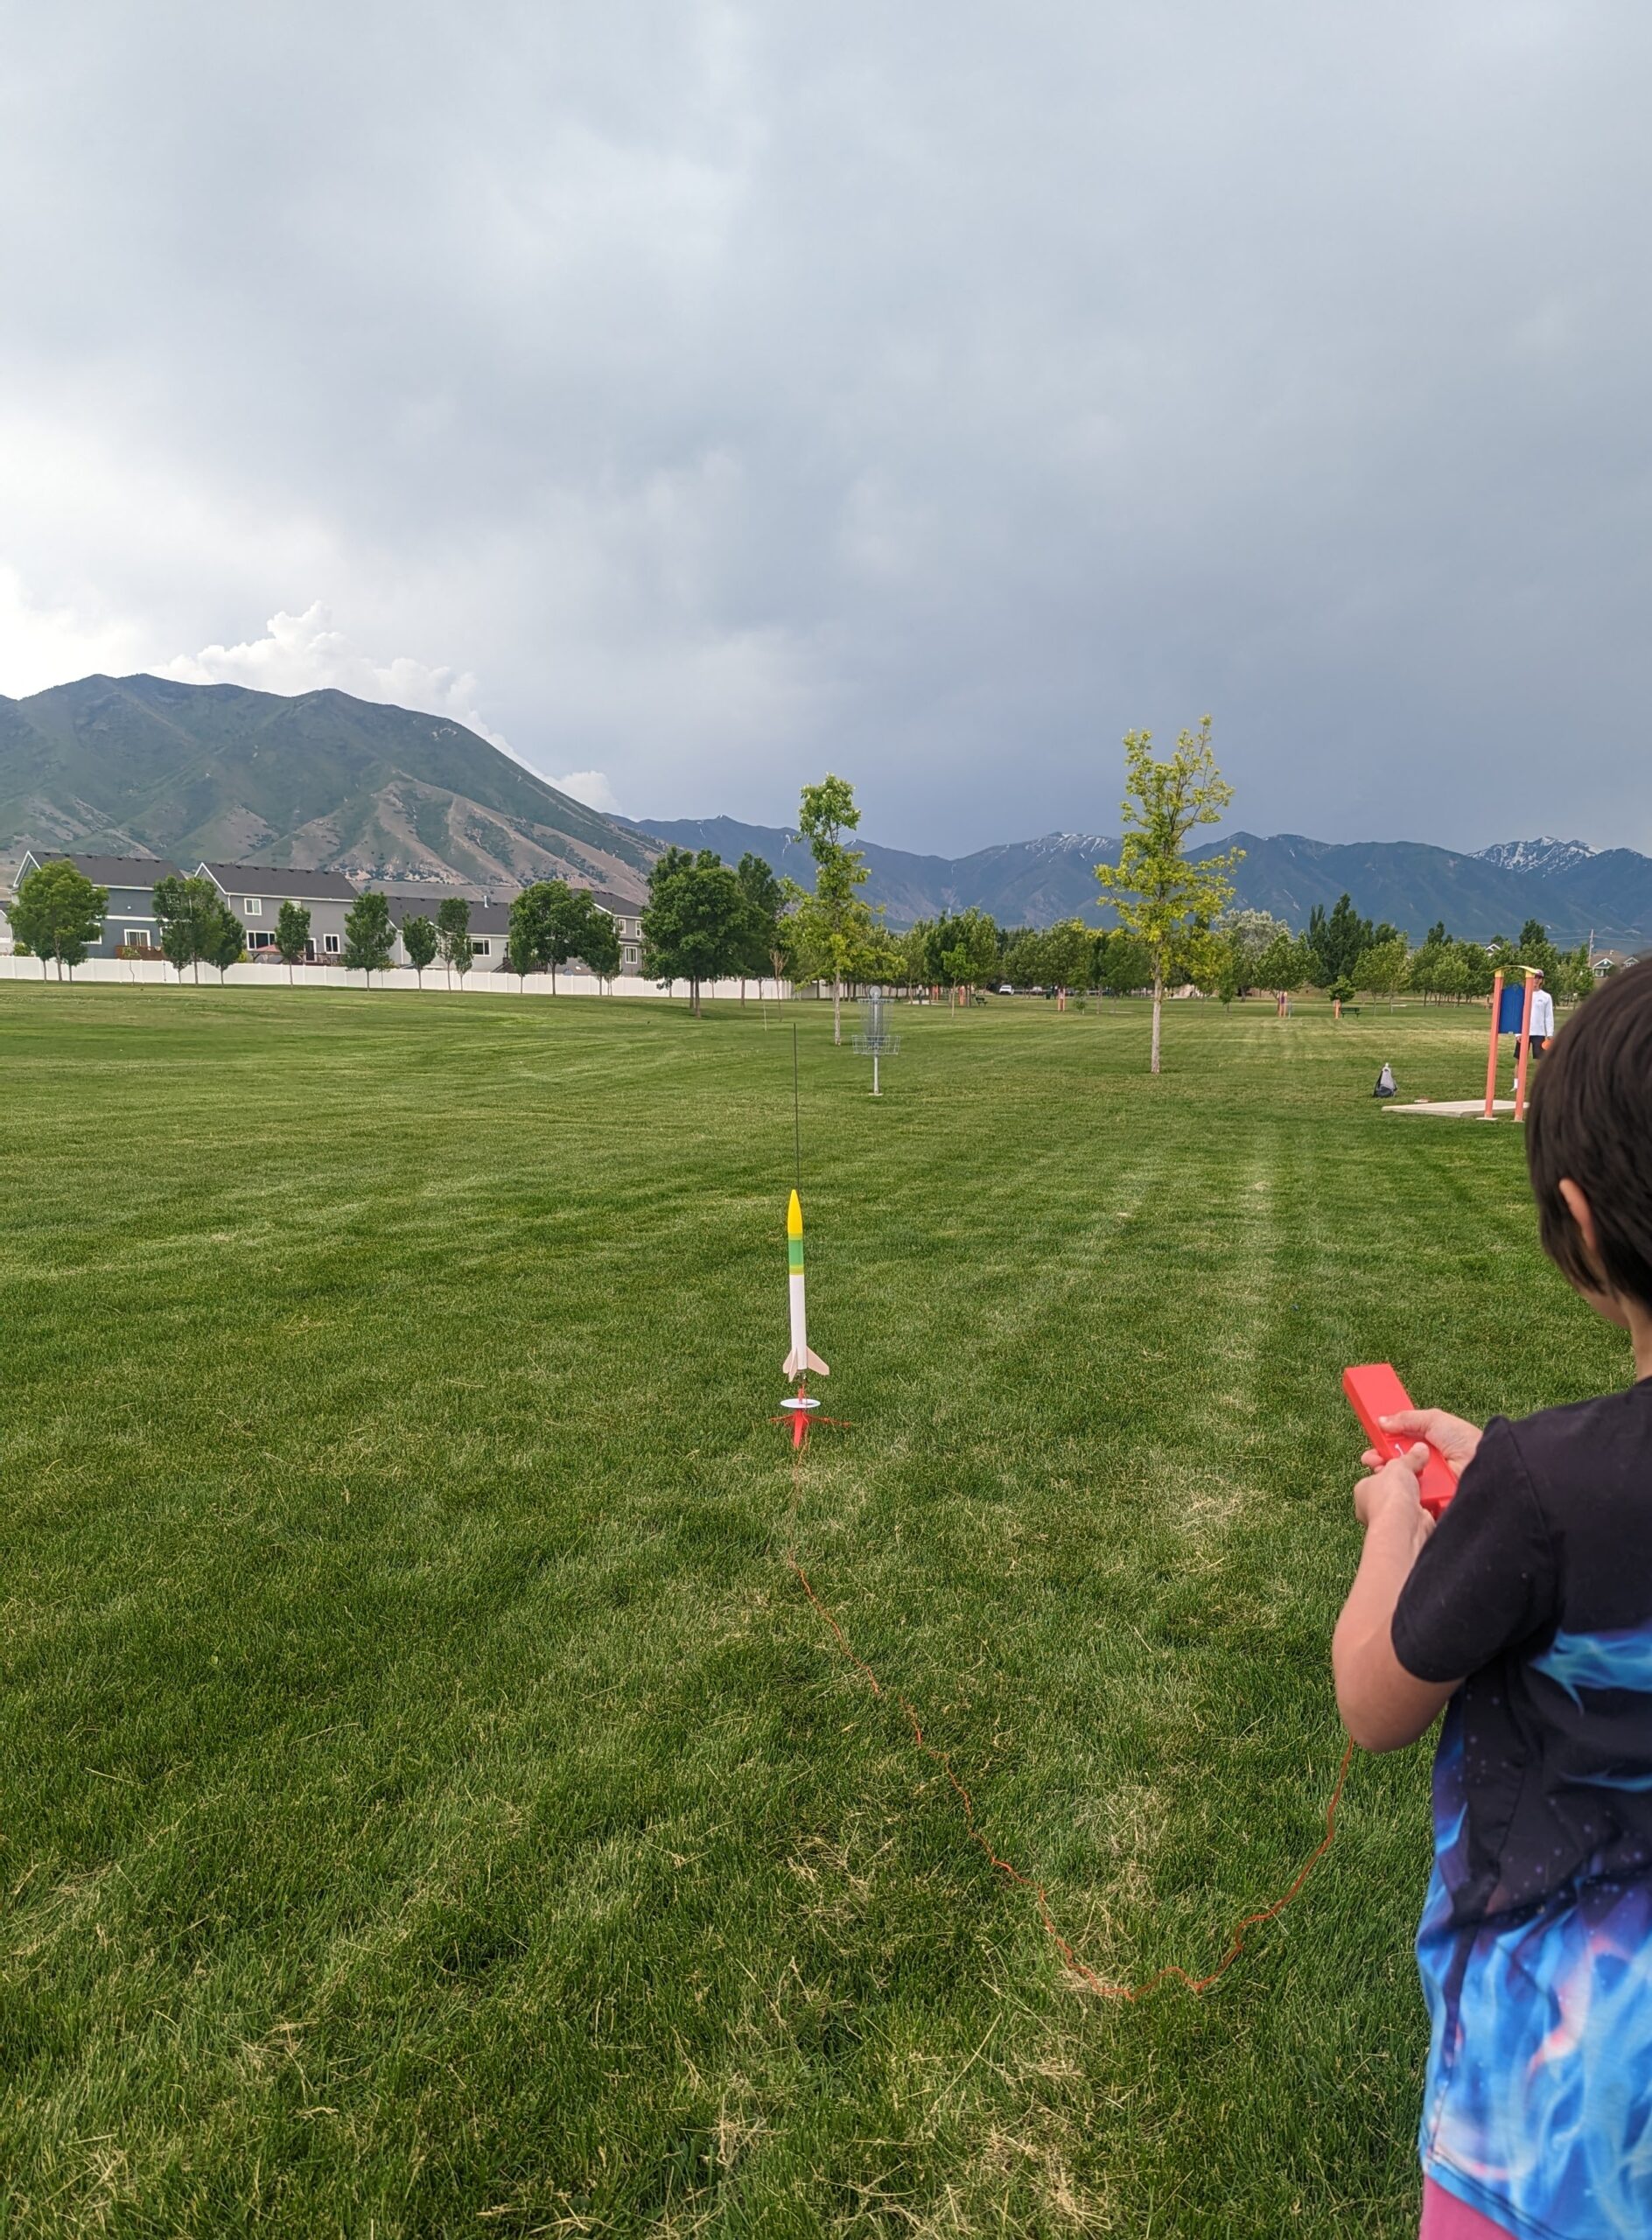
Hello everyone! In our last article, we had a lot of fun putting together the Estes Green Egg model rocket. Now, it’s time for the real excitement – we’re going to launch it.
Preparation
First off, we need to get our model rocket ready for its big flight.
Recovery Wadding: I used three balled up sheets on my first flight and it was fine. Wadding is important because it keeps the parachute safe from the heat when the engine ejects.
Parachute Packing: Next, you need to fold up the parachute and put it into the body tube. Make sure it’s packed in a way that it will open up properly when the rocket is coming back down. I used a fold and roll method. The parachute is important for a slow safe descent.
Nosecone placement: attach the nose cone securely in the body tube.
Choosing a Launch Site
The location of your launch is pretty important. Here are some things to keep in mind:
Space: Pick an open area that’s clear of trees, buildings, and power lines.
Safety: Safety should always be your top priority. Don’t launch your rocket near people, animals, or anything else that could be dangerous.
Regulations: Also, be sure to check any local rules or regulations about launching model rockets. This wasn’t as straightforward as I thought it would be. I started by checking the website for my local parks and recreation department, but I didn’t find any information. I decided to give them a call, but the person who answered didn’t know the rules either. They told me they’d get back to me, but I didn’t want to leave it at that.
I did a quick online search and found a local model rocket club. I shot them an email asking about launch sites. Not only did they tell me about a park that was only a 45-minute drive away where they regularly launch rockets like mine, but they also offered to have one of their members meet me there to help out with the launch. That was a big relief! I would have the right place and an expert on hand to make sure everything went smoothly.
The Launch Process
Now that we’re ready and at our launch site, it’s time for the big event.
Setup: First, you’ll need to set up your launch pad and controller. You can just follow the instructions that came with them. Be sure to unfurl the cord all the way to the controller BEFORE you attach the leads to the rocket engine wires
Rocket Placement: Next, put your model rocket on the launch rod. Make sure it’s steady and that the rod goes through the hole in the engine. Here’s where adding a tap of tape to raise the rocket off the platform a bit can help avoid short problems on liftoff.
Engine and Igniter Installation: Now, take off the rocket and install the engine, wires, and plug. Be careful with it – it’s delicate and very important for the launch to work. Be sure the wires don’t cross or touch. The plug is helpful to separate the leads. The Rocket can then be placed back on the rod and, after ensuring the controller is not active, connect the leads
Countdown and Launch: Once everything is ready, clear the launch area and start the countdown. 5! – 4! – 3! -2! – 1! – When you hit zero, press the launch button! WHOOOSH!
Safety Precautions
Launching model rockets is a lot of fun, but it can also be dangerous if you’re not careful. Here are some safety tips:
Always launch in a clear area away from anything that could catch fire.
Stand back from the launch pad at least 15 feet when the rocket is taking off.
Don’t try to catch the rocket while it’s still moving.
What to Expect
There’s nothing quite like watching a model rocket launch. When you press that launch button, your rocket will shoot up into the sky. The engine will stop and it might glide up even more to its apogee. That’s when the ejection charge should blow off the nose cone and release the parachute, and the rocket will slowly come back down to earth.
It’s really something to see!
Wrapping Up the Launch Day
Launching a model rocket is an experience you won’t forget, especially since you built it yourself. As we pack up and head home, we’re not just leaving with a fun memory, but also a better understanding of how rockets work.
Next time, we’ll be back to our usual outdoor activities. But who knows? We might just try out more rocketry in the future. Until then, take care and happy launching!
As an Amazon Associate, I earn from qualifying purchases, which helps me continue creating exciting content for you and your family.

