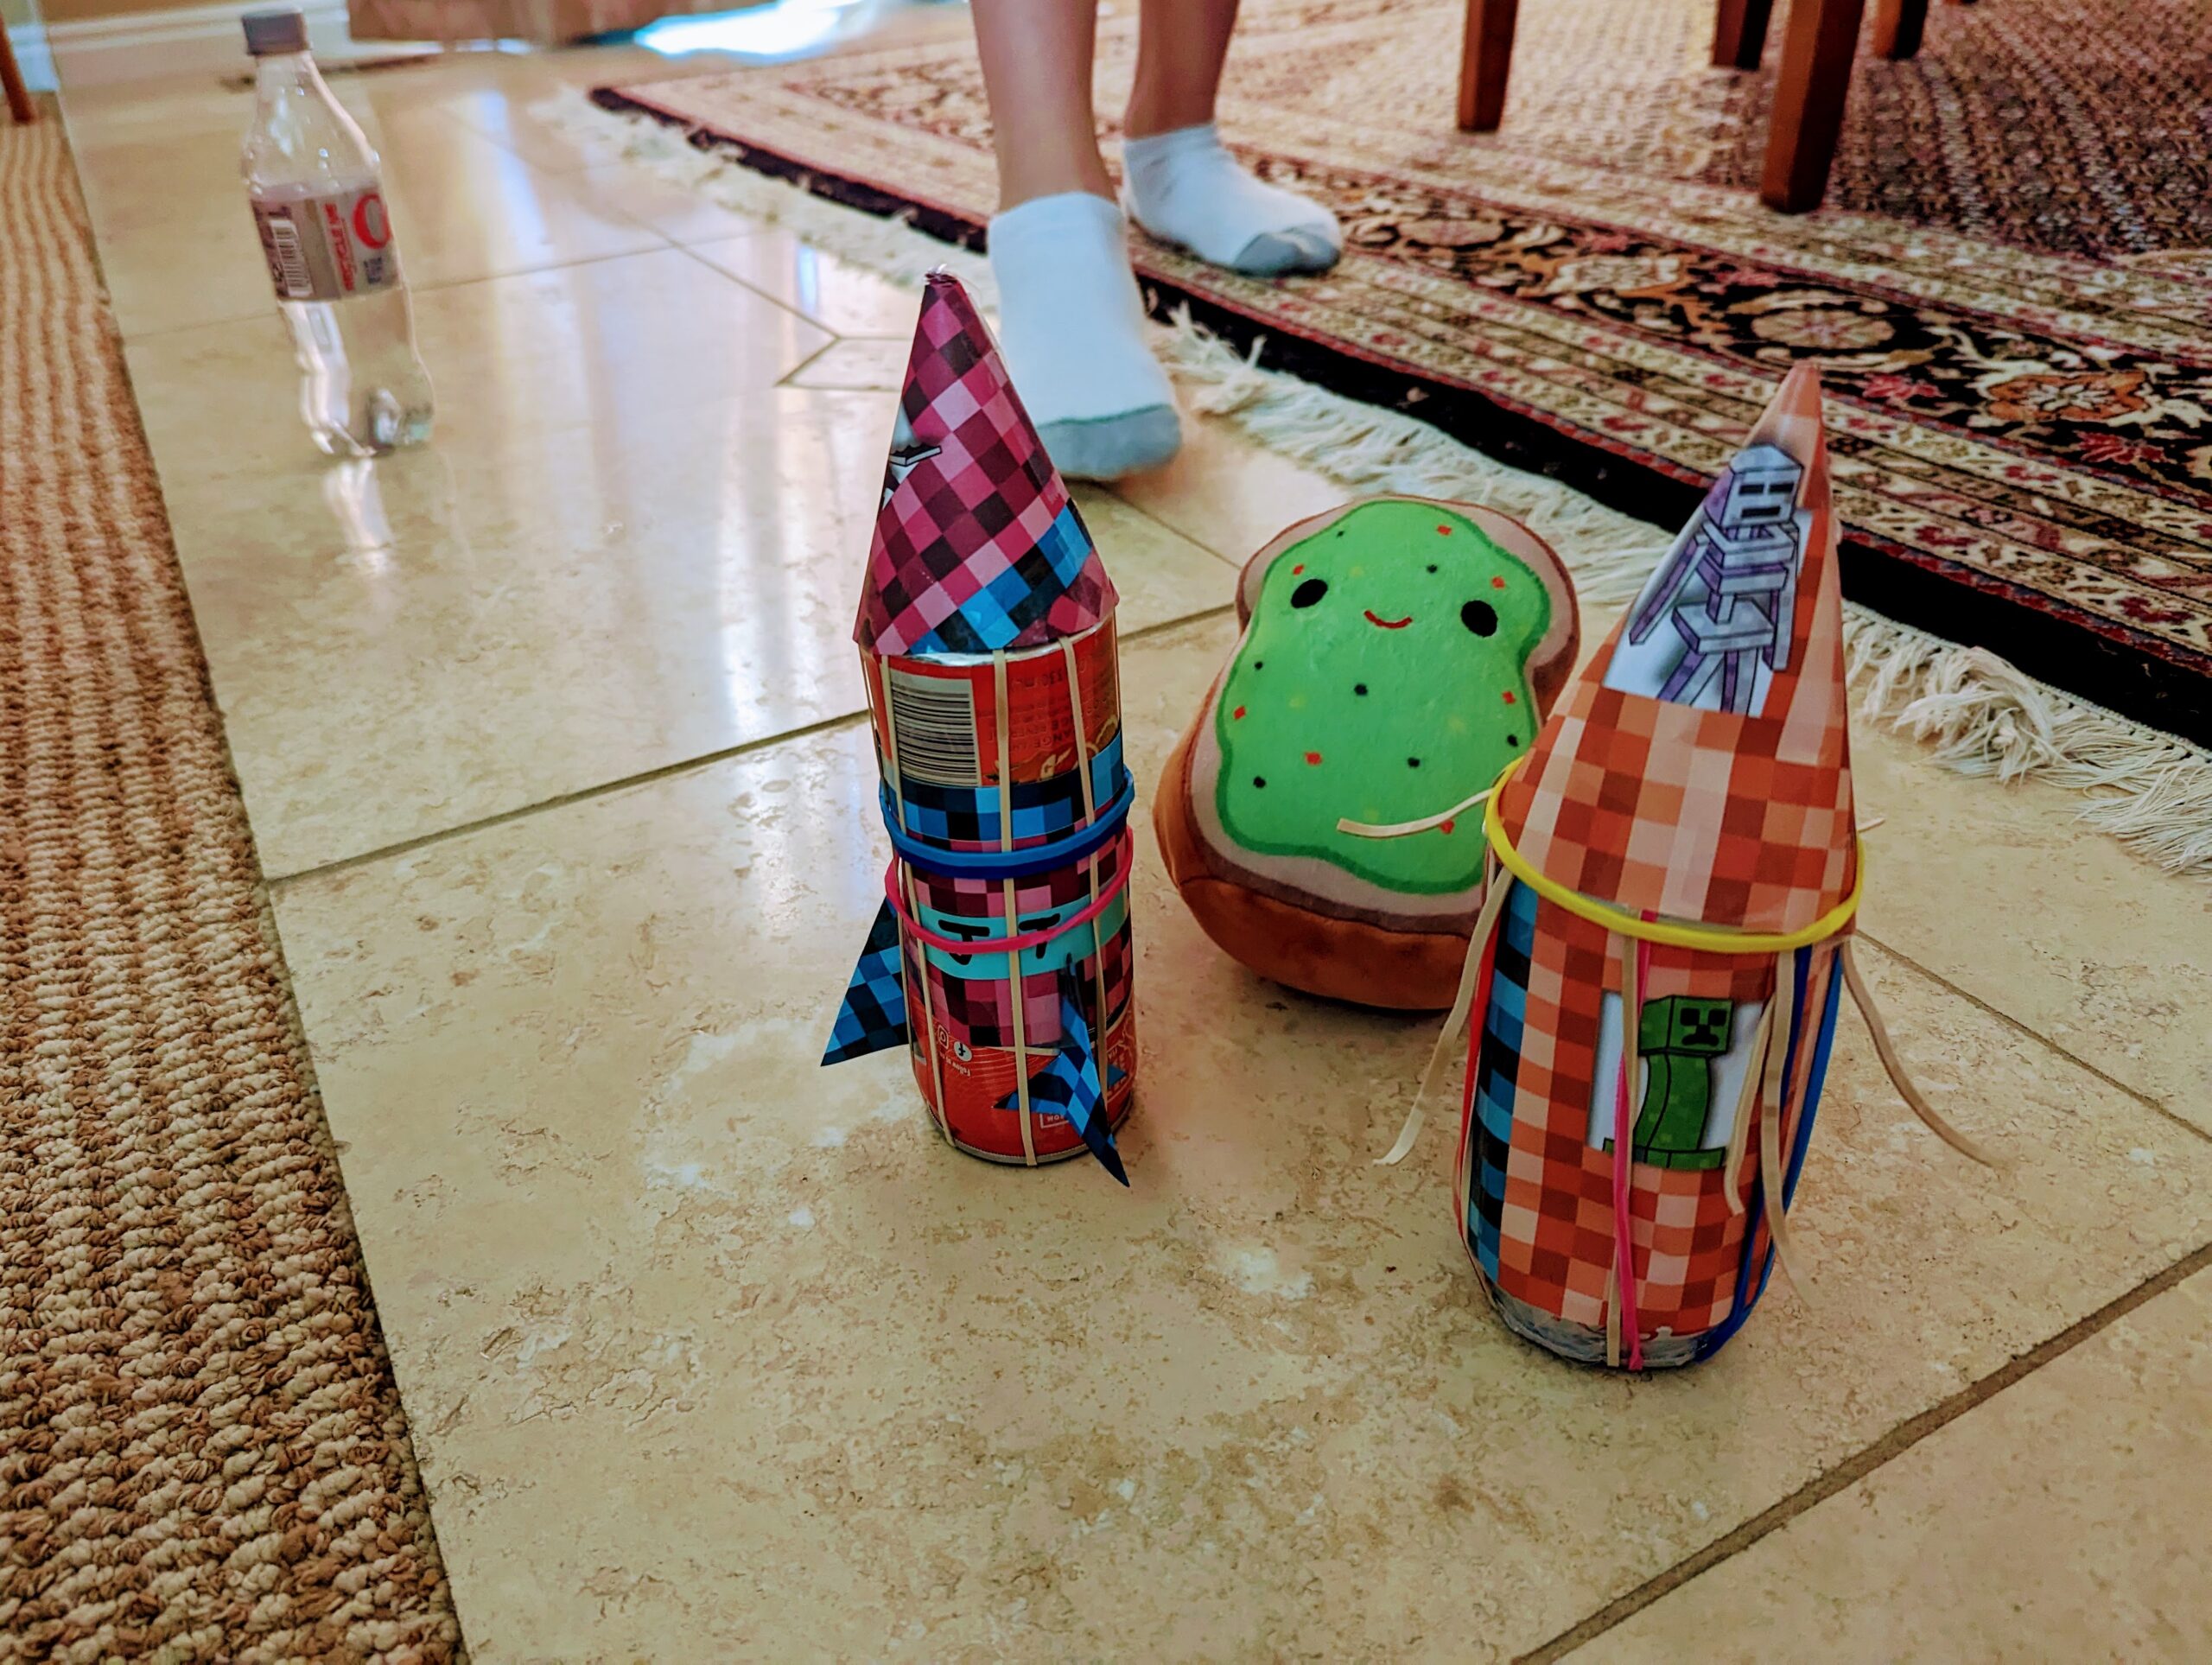
Hello, dear parents and mini adventurers! ❄️ As the chilly winter winds whisked outside, we decided to take the fun indoors. But let me tell you, RubberBand Rockets aren’t just indoor wonders – they’re equally fabulous for outdoor explorations! 🚀
What You’ll Need:
- The Rocket Base: Unleash your creativity! From toilet paper rolls, old water bottles, to those empty shampoo bottles, anything can become your rocket. Our pick for today? Trusty soda cans!
- A launch bottle – this becomes our steady base and launchpad, made more steady by filling it with water for added weight.
- About 6 rubber bands (adjust as per your item’s size) – these propel our rockets into space (or, at least, to the ceiling)!
- Clear tape.
- A piece of paper for each rocketeer – plain or decorated. (A little secret: we used pages from an old Minecraft workbook from the homeschooling days!).
- Scissors.
- Safety goggles to keep those beautiful eyes shielded.
Crafting the Rocket:
- Safety First: If you’re also in the soda can camp, open it with a can opener, removing the pop-top end. Always ensure any sharp edges are smoothed down.
- Rocket’s Body: Measure, cut, and let your imagination fly as you decorate the paper around the body of the rocket. Then, tape it around your chosen item to create the rocket’s body.
- Thrust Power: Time for those rubber bands. Wrap them around to form an asterisk shape on both ends.
- Rocket’s Topper & Fins: Craft a cone from the leftover paper, decorate, and tape it on top. Add those wedge-shaped fins for extra flair!
Launching the Rocket:
- Ready your launch bottle by filling it with water and sealing it tight.
- Safety First (and Always): Establish ground rules for safety, especially if you have multiple kiddos ready for liftoff. It’s all fun and games until someone gets hurt. Rockets can launch unexpectedly fast! Make sure:
- Everyone wears safety goggles.
- Kiddos sit in the criss-cross applesauce position, ensuring a safe distance from the launch zone.
- If doing this outdoors, keep ample space between each rocketeer.
- Do not let kids launch from their knees. On knees, it is too easy to lean forward and have your head right in the launch path.
- 3, 2, 1… Liftoff!: With the dominant hand securing the rocket and the other holding the bottle, a thrilling countdown leads to the grand launch! Watch as your creation zips upward.
The Science Behind Our Launch:
Beyond the thrills, there’s a lesson! As little hands push down on the rocket, they stretch the rubber bands storing potential energy. This energy transforms into kinetic energy upon release, sending our RubberBand Rocket on its journey. An entertaining way to introduce energy conversion concepts!
So, whether indoors sheltering from the cold or outdoors basking in the sun, gather those everyday items and host your RubberBand Rocket extravaganza! We’d love to hear about your adventures and see your unique rocket designs. Until next time, prioritize safety, have a blast, and always keep that spark of curiosity alive! 🚀🌌🌠
P.S. Hey there, rocket enthusiasts! 🎥 I’m super excited to let you know that I’ve posted a video demonstration of our RubberBand Rockets on my YouTube channel soon. Whether you’re looking for a visual guide or just want to see our rockets in action, it’s up! Here’s the link. Don’t forget to subscribe and join in on the future fun! 🚀🎬
As an Amazon Associate, I earn from qualifying purchases, which helps me continue creating exciting content for you and your family.

